When we decide it’s time to acquire the perfect set of makeup brushes, we discover a bewildering array of options. As a conscientious cosmetics manufacturer, we try to help our valued customers make informed decisions and find the perfect product for their needs. We have created this makeup brushes guide to provide information about the different types, their uses, names, and tips on choosing the right one for your desired makeup application.
Introduction to Makeup Brushes
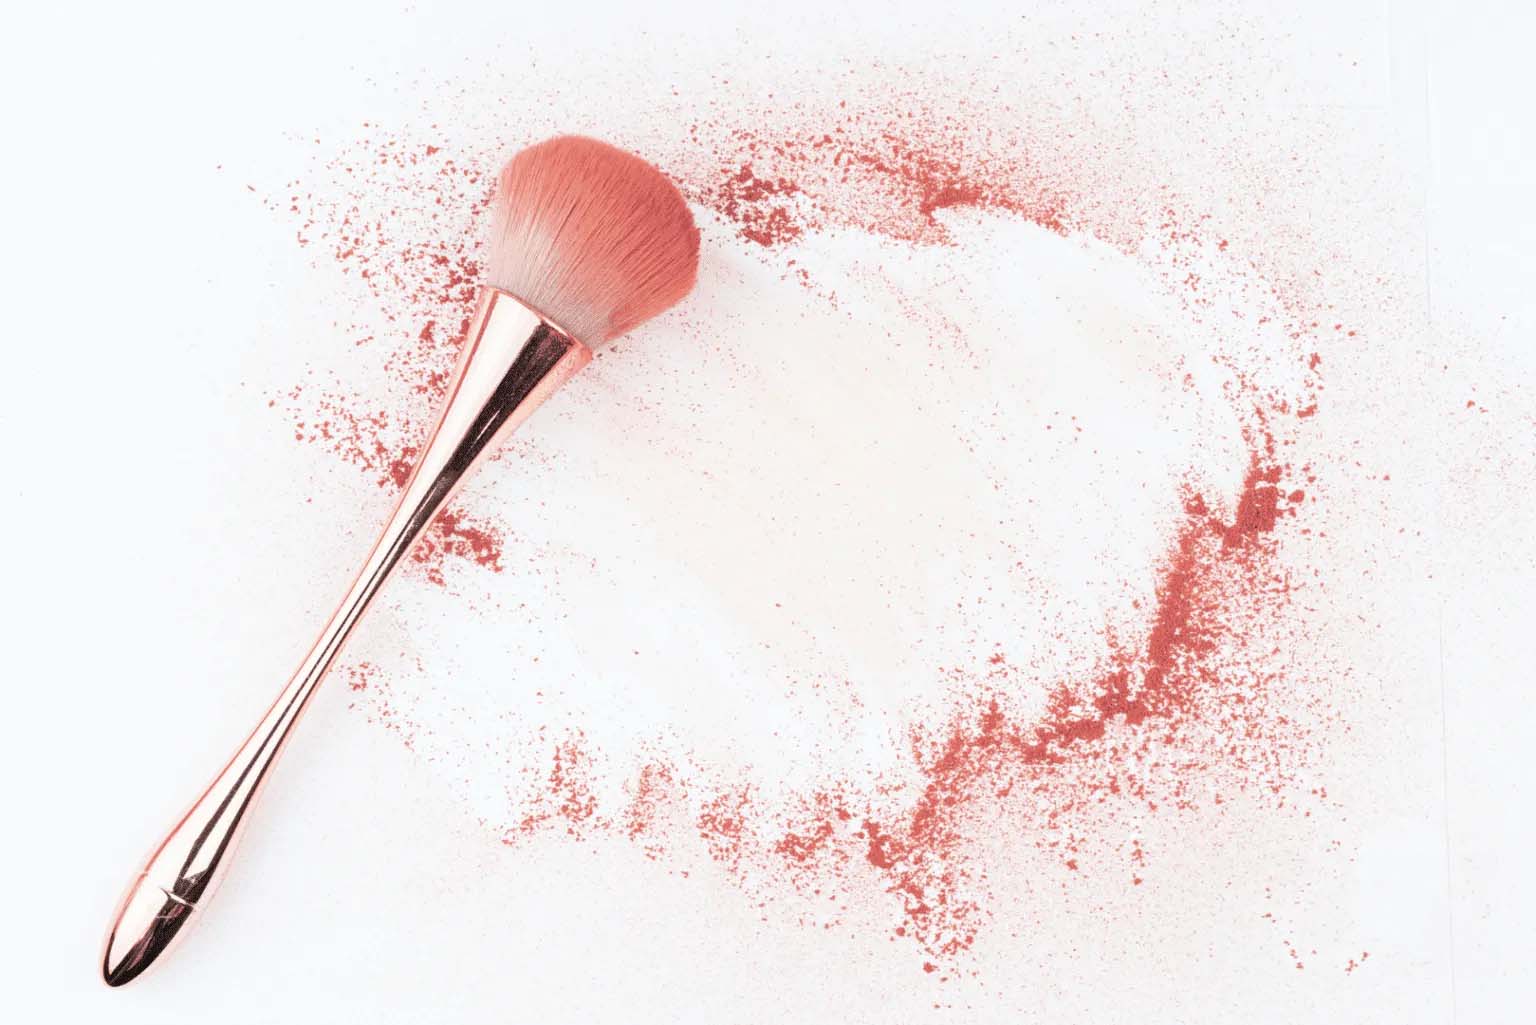
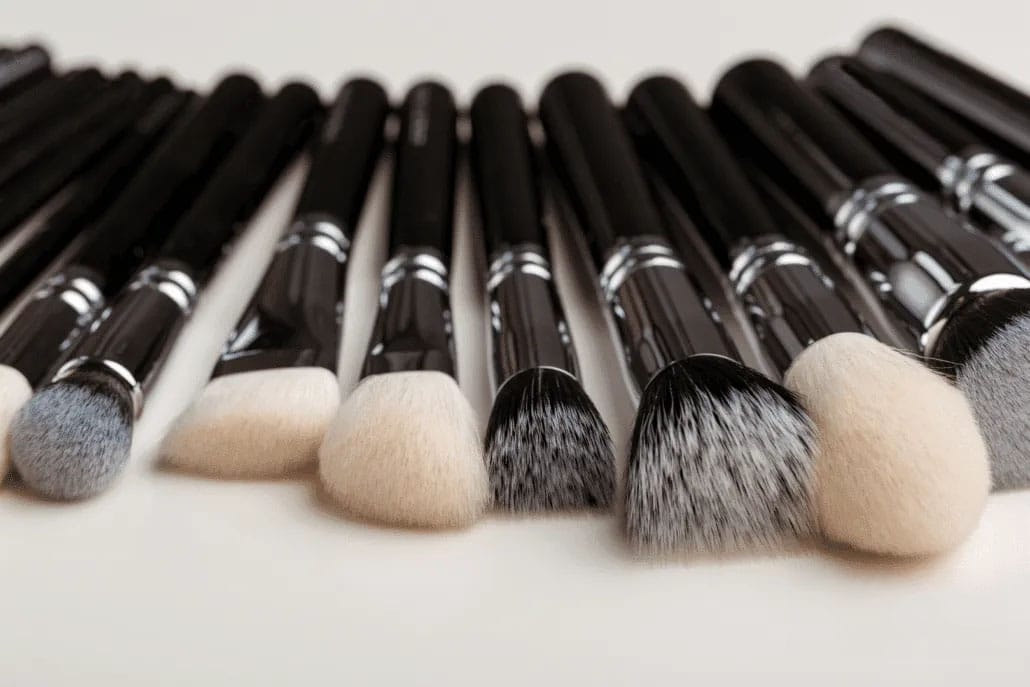
Makeup brushes are a staple for anyone who regularly applies makeup to their face, making the process faster, easier, and more effective. Successful makeup application requires depositing cosmetics in a broad, even fashion and using more precise tools to create definitions and highlights. Aside from makeup sponges, which can be used to achieve similar results, nothing compares to makeup brushes, and they are an indispensable tool in any kit.
Make Up Brushes Explained
When we look at the range of makeup brushes’ names, we find a wide variety, including:
- Foundation brush—The perfect tool for applying foundation cream or liquid, resulting in a flawless, smooth finish. Foundation brushes typically have two layers of bristles (duo fiber) to stipple the foundation as it is applied and create a lighter, more even look.
- Concealer brush—When covering blemishes, skin imperfections, and dark circles under the eyes, concealer is applied using this workhorse tool. Available in a range of styles (flat, angled, and tapered), concealer brushes often have long handles and a rounded head that tapers outwards away from the stem in a cone shape.
- Powder brush—Applying pressed or loose powder to the face is best achieved using a fluffy powder brush. Larger than most other cosmetics brushes, it is designed to effectively distribute a thin layer of powder and set the makeup beneath. It also reduces shine as the powder is non-reflective.
- Blusher brush—A mid-sized cosmetics brush that looks similar to a foundation brush but with softer, fluffier bristles. Blusher brushes apply blusher to the cheeks and are available in various shapes, but the rounded-head version is typically favored.
- Contour brush—An angled brush designed to access the hollows of the cheeks. The slightly stiffer synthetic bristles are adept at defining the desired facial features and creating contours.
- Highlight brush—Used primarily to highlight the face’s prominent points (cheekbones, brows, etc.), these brushes are typically smaller and often tapered. Their firmness varies according to personal preference and can significantly impact the result. Soft, fluffy ones give a more subtle, natural glow as they spread the product thinly across the surface. Moderate firmness provides greater versatility and is a nicely balanced option. The firmest highlight brushes deposit maximum amounts of product and are perfect for dramatic, striking styles.
- Eyeshadow Brush—Designed to apply product around the eyes, these brushes can be found in various styles. Flatter brushes pack the product onto the eyelids. Blending brushes soften the edges and blend the product into the makeup beneath. Crease brushes are tapered to push product into the eye creases for a fuller appearance.
- Eyeliner Brush—A precise angled brush that applies cream or gel eyeliner. The short, firm bristles come to a fine point for maximum precision.
- Brow Brush—Brow brushes usually have bristles on either end. One end is called a ‘spoolie’ brush (small spiral) that helps with eyebrow shaping, blends eyebrow pencil, and can separate eyelashes once mascara is applied. At the other end, we find an angled brush for powders and pomades.
- Lip Brush—A small, thin, firm brush that gives maximum precision when applying gloss or lipstick.
Tips for Using Different Makeup Brushes
There are significant differences in makeup brushes and their uses; each is designed with a specific purpose. Some tips for using different makeup brushes effectively include:
Foundation brushes
- Flat—Apply smoothly, starting from the center and blending outward with even strokes
- Buffing—Work in a circular motion to remove the product and leave a full, even effect
- Stippling—Lightly tap the product for a natural finish
Concealer brush
- Small, flat—Target blemishes with a patting motion
Powder brush
- Large, fluffy—Dust and dab powder lightly to set the existing makeup
Blush brush
- Rounded—Work upwards from the cheeks to give an attractive flush
Contour Brush
- Angled—Apply powder into recessed areas and blend well
Highlight brush
- Small, tapered—Pick out your prominent features, building the effect slowly
Eyeshadow brushes
- Flat shader—Pack product onto the eyelids
- Blending—Blend eyeshadow to soften unwanted lines
- Crease—Fill creases to add depth and dimension
Eyeliner brush
- Thin, angled—Use short strokes to apply in a precise, controlled way
Brow brushes
- Spoolie—Shape the eyebrows, blending for a natural look
- Angled—For precise application
Lip brush
- Small, firm—Apply with precision, defining the lips’ edges
Tips
- Clean your makeup brushes regularly
- Always choose the correct brush for the product
- Blend methodically and thoroughly for a natural appearance
How to Carefully and Effectively Clean Makeup Brushes
Although any quality makeup brush manufacturer will do their best to make their different makeup brushes robust and durable, by their nature, they are susceptible to damage if abused or treated incorrectly. The following are some practical steps to clean most types of makeup brushes without damaging them and reducing their lifespan:
- Rinse—Using a weak, lukewarm water flow or shallow bowl, rinse the bristles and gently loosen any material with your fingertips. Take your time and avoid wetting the handle, if possible.
- Clean—Work a sulfate-free, mild shampoo or bespoke brush cleaner into the bristles, carefully separating any clogged strands without kinking them at the base.
- Rinse—Repeat the first step until the water runs clear.
- Dry—Avoid bending the bristles out of alignment while squeezing the water out. Lay the brushes on a paper towel and dab from the top with another to remove residual moisture. Leave the brushes to finish drying flat in a warm place.
Contact Us
If you have any questions or comments to direct to the MPlus team, we will gladly address them. Our experienced representatives are ready to provide information about our services as an innovative, continually growing color cosmetic manufacturer offering and our unrivaled expertise in formula and packaging synergy.